Blog Post Week 6
Blog Post Week 5
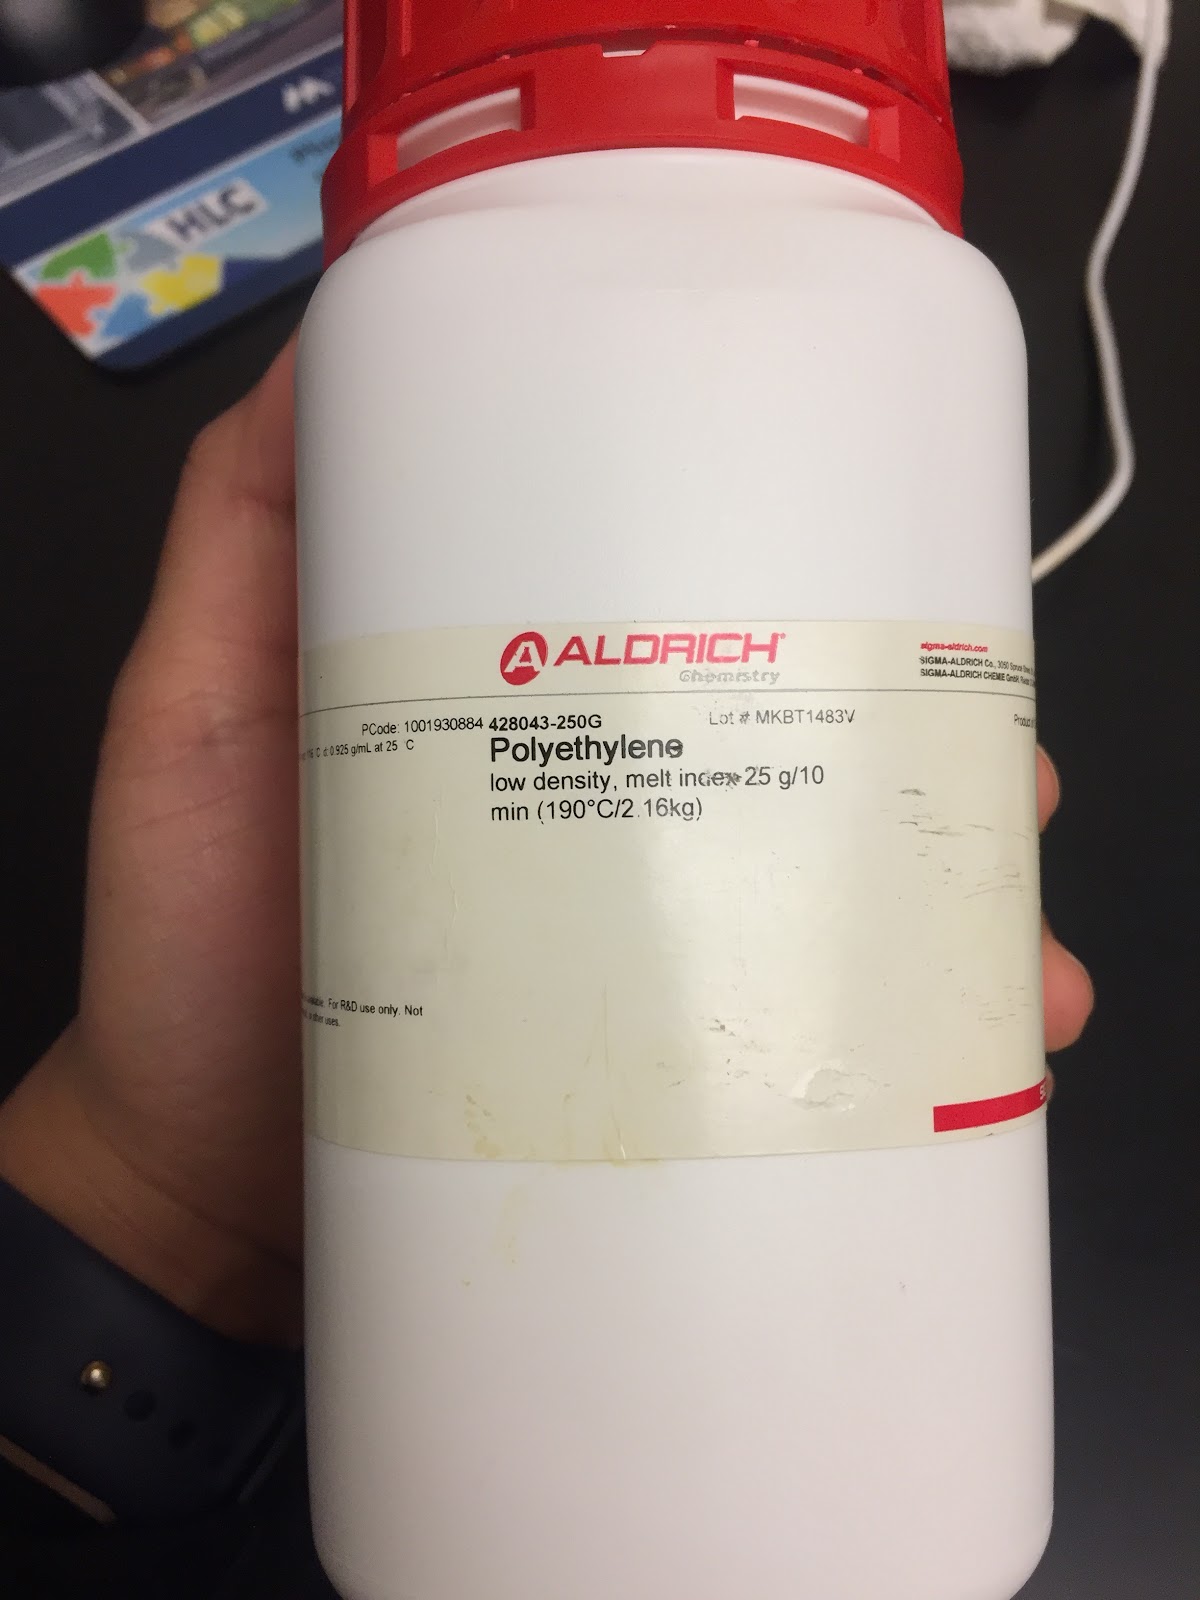
Protocol for melting Low- Density Polyethylene

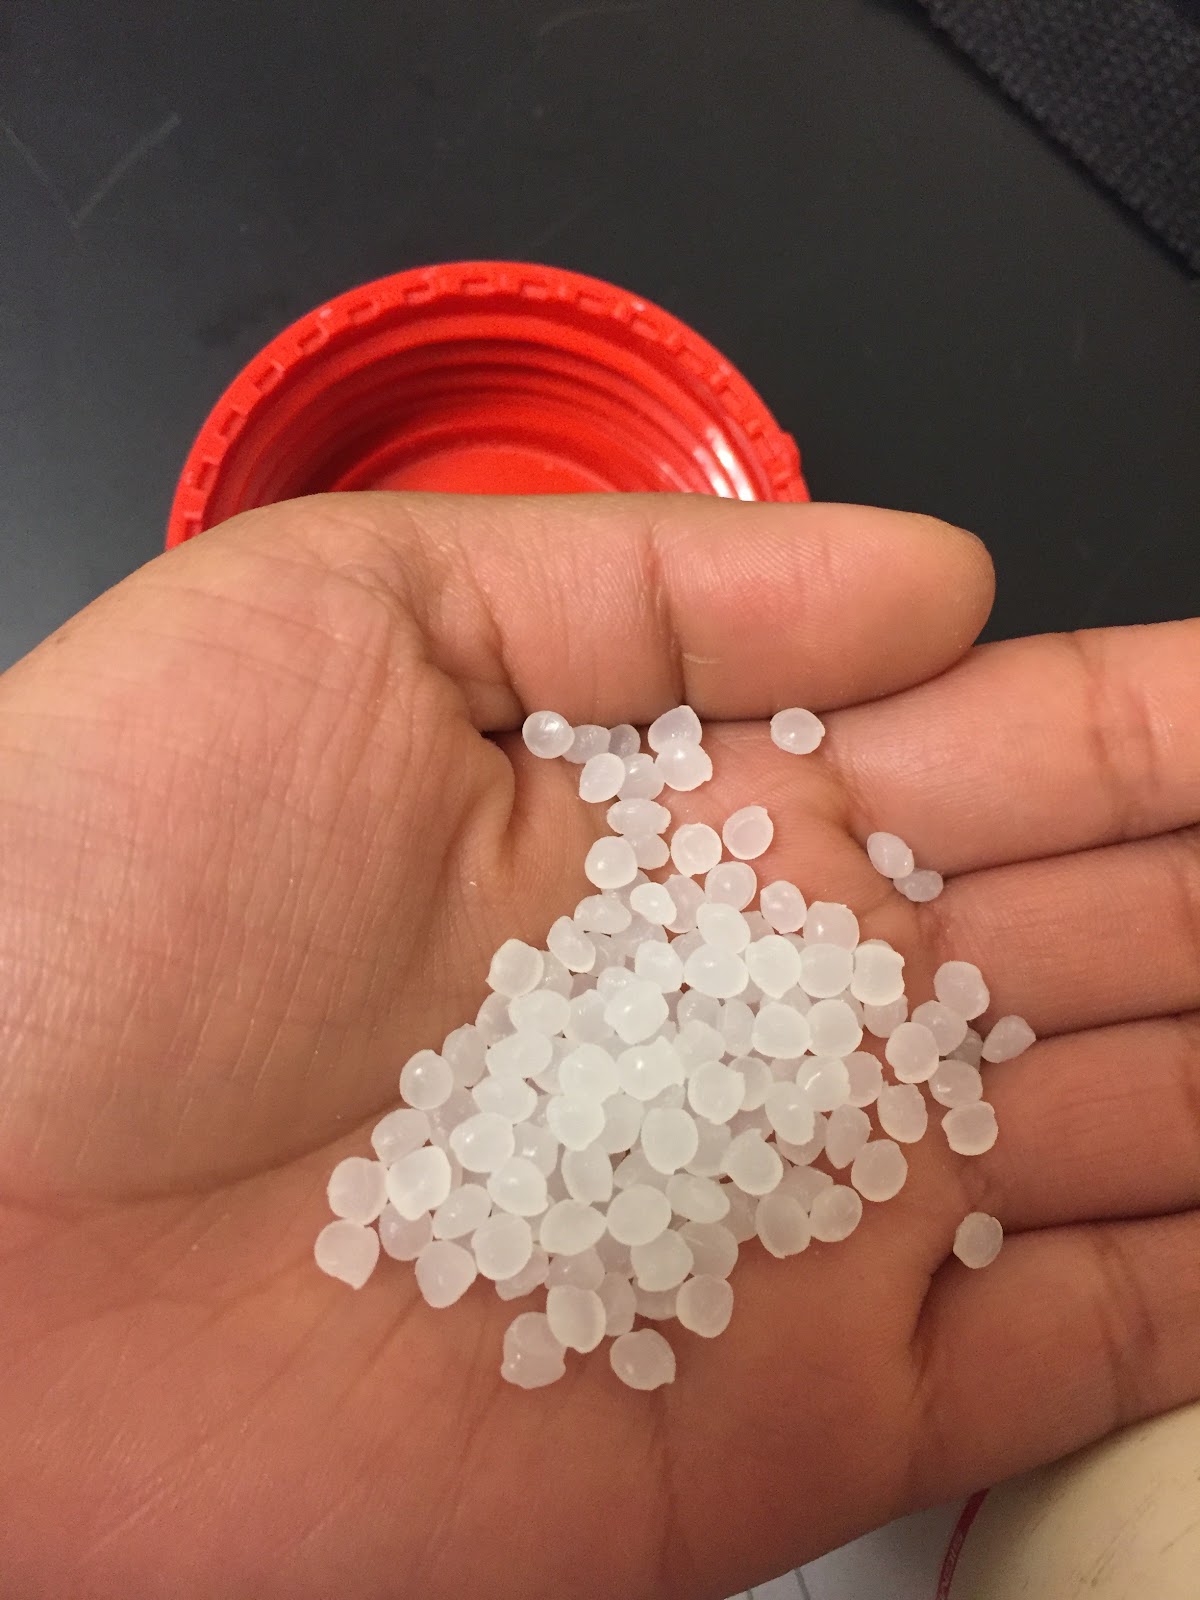
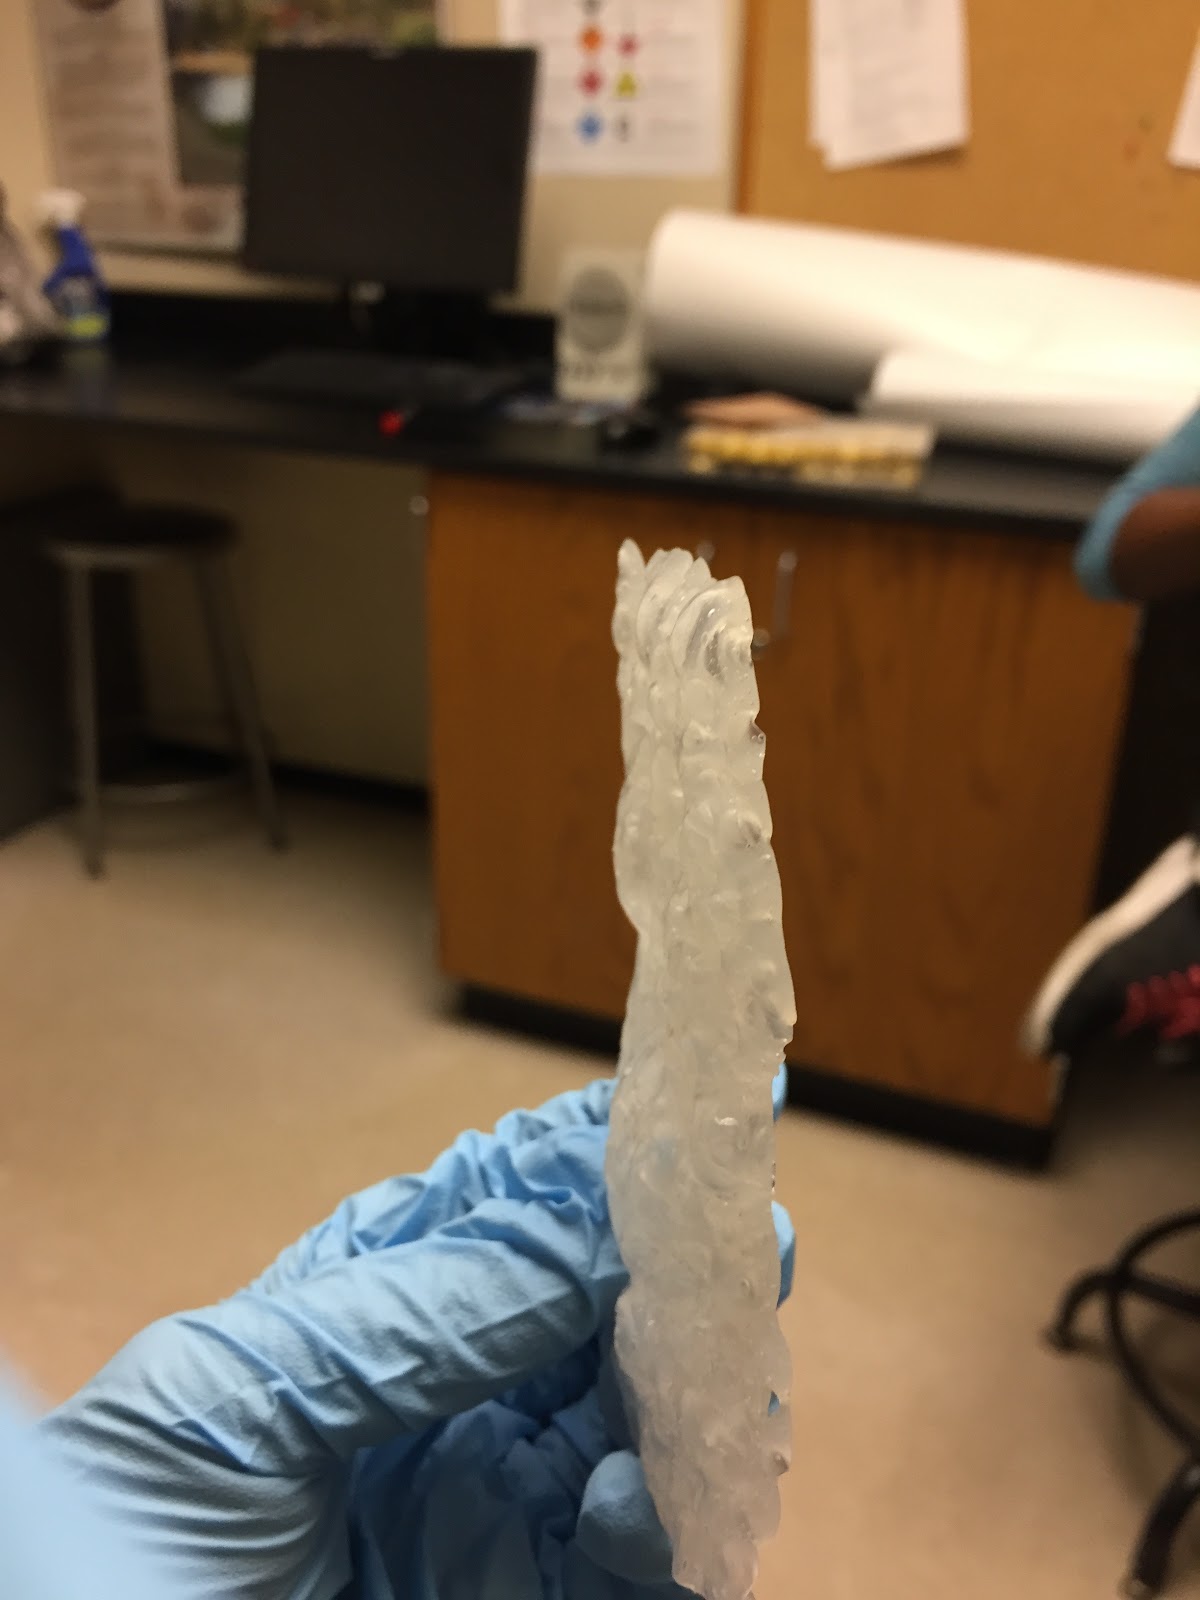

Get 11g of SPI 4 (Low- Density Polyethylene ) and put it into a pan, making sure that all the little beads are next to each other and do not spread everywhere. Autoclave the plastic. Press the pedal with your foot that is located on the bottom right corner of the machine, to open the sliding door and carefully place the pan into the machine making sure that the beads do not spread around but maintain all together into a single place. Press the pedal again on the bottom right corner to slide close the machine. Press the button that says “melt”. That is going to heat up for 40 minutes at 121°C, which involve: Cooling & Sterilization. Once the machine finishes up, there will be a beeping alarm that goes on. Put plastic gloves on first and then a pair of cooking mittens on grab the pan carefully with the mittens and put on counter shelf. The plastic should be melted completely and should be easy to remove from the pan. Let the plastic cool down for 3 minutes and continue to shred the plastic with the same item that was used for all other plastics.


Hey Jasmine! Great job on figuring out how to “superglue” the Low density Polyethylene (SPI 4) together. How did you conclude that you needed to melt them in order to get them to stick? Also, did the shredding process for this particular “bar” of SPI 4 take more or less time to shred?
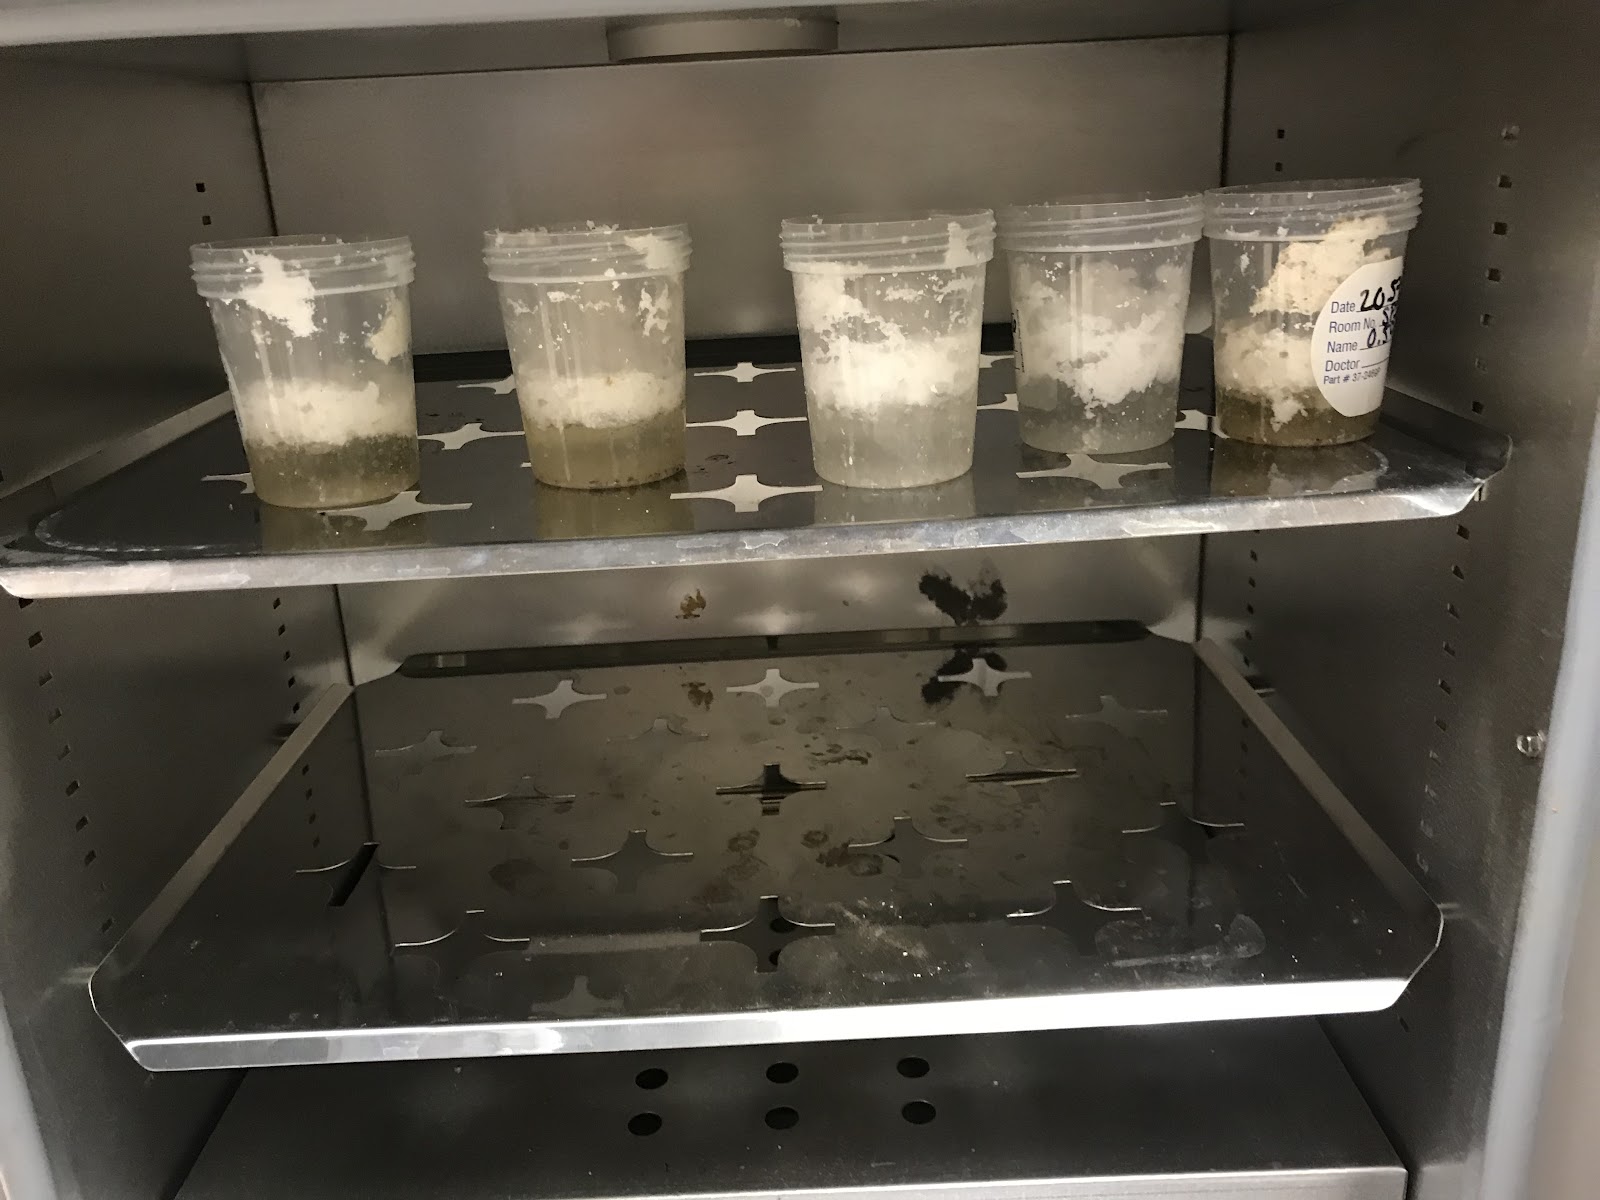
ReplyDeleteJasmine, you have been busy shredding the Low-Density Polyethylene in the lab. It looks like you took a great deal of care in shredding and collecting the shavings. I have seen several jars in the lab with plastic shavings in different colors. How much of each plastic are you collecting?
ReplyDelete